Creating animated tokens to liven RPG play on VTTs
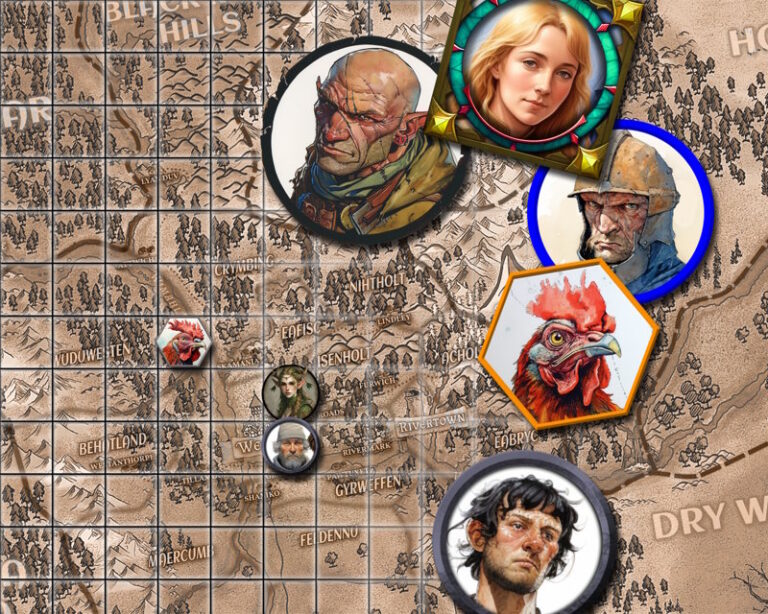
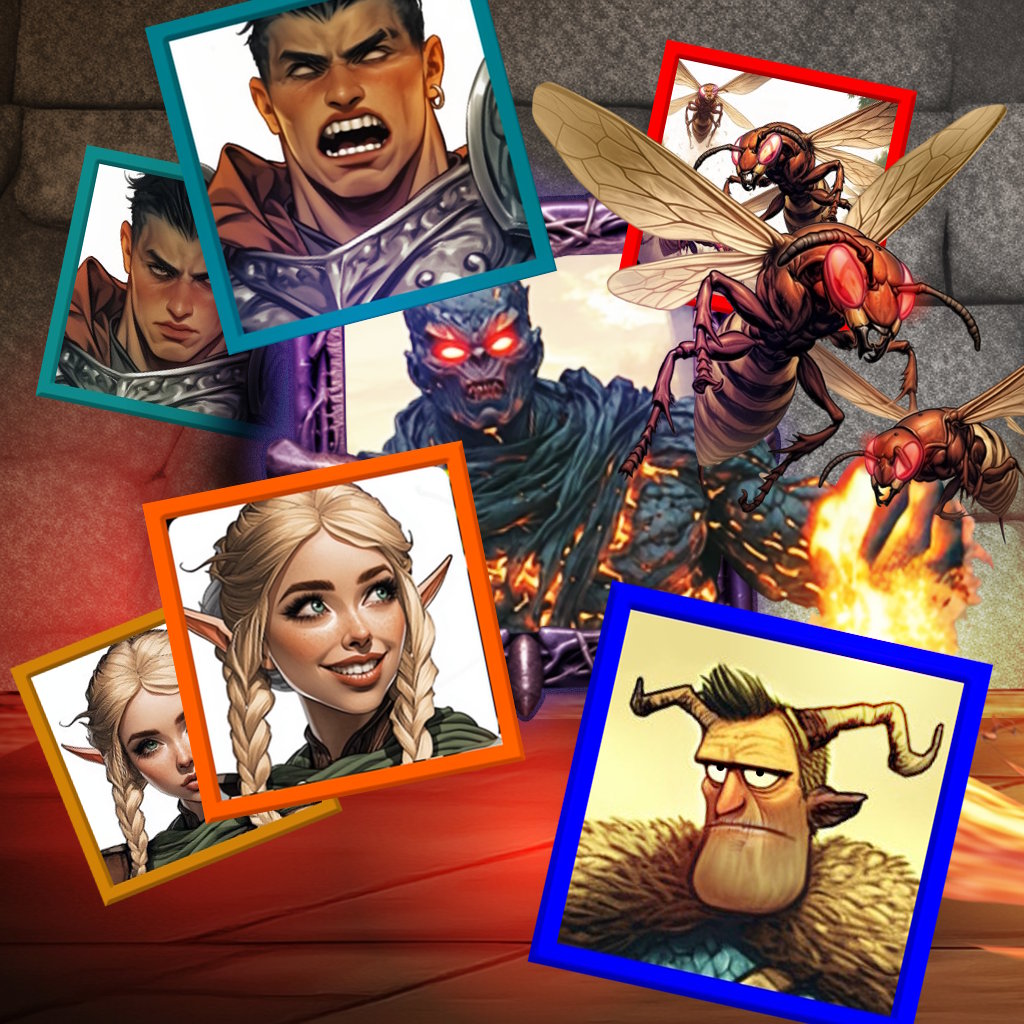
Our free animated token pack is a companion to our tutorial video on creating animated tokens for VTTs. It lets you try out the final results while following along with the process step-by-step. You’ll see exactly how the included tokens were made, from the first image to the fully animated VP8 files ready for play. Round tokens also work, but square tokens are much more efficient – I’ll explain at the end.
Here’s the quick workflow at a glance—five simple steps to go from image to animated token. A more complete breakdown follows, and at the end there is a list of links to the tools referenced.
Quick Workflow Checklist
(If using a premade/existing token – skip to step 3!)
- Image Creation – Draw, commission, scan, or generate art; crop to square in Krita.
- Static Token – Prep and add a border using Krita + Token Stamp 2.
- Animate – Add motion with AI tools. or manually (Krita/Tahoma2D).
- Convert – Export to VP8 format via CloudConvert, FreeConvert, or FFmpeg.
- Import – Drop finished token into your VTT’s asset folder (e.g., portraits in FGU).
Step by Step Breakdown
1. Image Creation
Start with artwork you like! Draw it yourself, commission your favorite artist (ArtStation, DeviantArt, Instagram), or experiment with AI tools (MidJourney, OpenAI, etc). You can also scan sketches or repurpose found images. Crop to a clean square format with Krita for best results. In earlier stages, you’ll get better end results by keeping the image larger than needed, like 512px/1024px.
2. Create Static Token with Border
Use Krita to polish and prepare the square image. Then drop it into Token Stamp 2 to add a border style that matches your table. This gives you a ready-to-use static version before animation, especially for AI tools which will not add the border, and generally ignore it when animating.
3. Add Animation
You’ve got options here:
- AI-assisted animation via MidJourney, Sora, Hugging Face, or similar tools.
Whichever route you choose, aim for smooth, short loops (2-5 seconds). If looping is not an option, include it in your prompt will make the repeating token movement more fluid. - Manual frame-by-frame in Krita or Tahoma2D. This can be very time consuming, to ease the process try to keep a low frame rate and reuse frames (mirroring cycles) to reduce work.
4. Convert to VP8 Codec for VTTs
Most VTTs (including FGU) require VP8 format for animated tokens. The VP8 codec apparently has more cross-platform compatibility and is supported by modern browsers, also it is the only version supported by Unity and some other gaming platforms (so don’t use VP9!). Convert your files using CloudConvert, FreeConvert, or run FFmpeg for precise control over quality and size. You can play around with bitrate and video size to get the results that look best to you. Token size is fine at 256p with a bitrate of 500k (or even lower) – this will display the token in good quality and low file size on your VTT. Aim for 512p up to 1024p for animated images of locales or creatures, with bitrates up to 1M (file sizes will be larger but manageable).
FFmpeg command line for linux:
ffmpeg -i inputtokenname.mp4 -c:v libvpx -vf scale=-1:256 -b:v 500k outputtokename.webm- input file is mp4/mov – whatever starting format you have: change input and output names as required
- libvpx outputs VP8 codec – don’t change this
- scale – change to desired size (WIDTH:HEIGHT), such as 1024:1024 for large images
- -b:v – change video bitrate as desired, such as 200k or 1M
5. Import into Your VTT
Rename the finished animated token to distinguish it from any static versions by including “VP8” or “_anim” after the name. Drop your finished token into the right folder. In Fantasy Grounds Unity, place VP8 tokens in the portraits (or tokens) folder, just like static tokens. Other VTTs (Foundry, Roll20, etc.) have similar asset folders or drag-and-drop options. Have fun by making several versions and swapping them out at intervals with the static token to bring more personality to your player facing token!
A note on round tokens:
Round tokens, or even top-down versions, present a problem with requiring transparency as they are typically played with in VTTs. It is much simpler to animate and create the final webm formatted file if made square – meaning you need to flatten the image before using it. All of the automated animation tools online will flatten it to square regardless, if you use a drawing program to do it yourself you’ll have more control on what the ‘flattened’ transparency looks like (eg – put the token over a background of your choice before flattening.)
If you are adamant about having an animated token with a transparent background consider the following:
- Animating by hand or using online tools – keep the background a color that is easy to separate (aka – greenscreen).
- Use a video editor that will support transparency or color masking (like Shotcut).
- If you can’t output a webm directly from your video editor, but are able to retain transparency, try using a tool like FFmpeg to convert it for your VTT
ffmpeg -i inputtokenname.mp4 -c:v libvpx -vf scale=-1:256 -b:v 500k -pix_fmt yuva420p outputtokename.webm